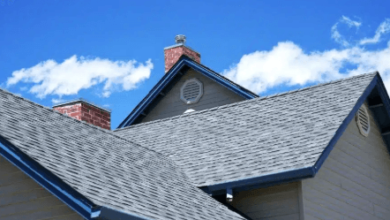
In plumbing, technology has paved the way for innovative solutions that address immediate concerns and ensure the longevity and reliability of your water systems. One such solution, pipe relining, has revolutionised how you approach repairs, offering a seamless transition from problem detection to solution execution. So, this blog post describes the intricate process involved in this no-dig pipe restoration procedure, shedding light on the comprehensive steps involved.
Why Do You Need Relining
Before diving into the process, it’s essential to recognise the signs that indicate a need for pipeline rehabilitation. These may include recurrent blockages, reduced water flow, or the unwelcome sounds of water running where it shouldn’t. Often, these issues arise from underlying problems like corrosion, tree root intrusions, or simple wear and tear over time.
The Initial Inspection: Diagnosing the Problem
The journey towards restoring your pipes begins with a thorough inspection. Using cutting-edge CCTV camera technology, plumbing experts thoroughly examine the affected pipes. This non-invasive method allows for an accurate assessment without excavation, providing clear visuals of any damage or blockages. It’s a sophisticated approach ensuring minimal property disruption while pinpointing precise problem areas. This technology enables the identification of issues ranging from minor leaks to severe obstructions, ensuring that the subsequent steps in the relining process are curated to address the unique needs of your plumbing system efficiently.
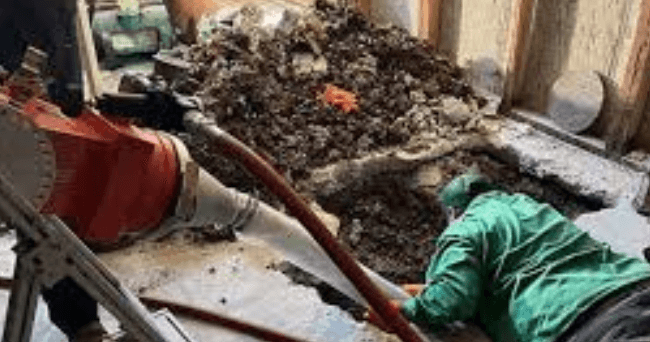
Preparing the Pipes: Setting the Stage for Relining
Once the problem areas are identified, the next step is to prepare the pipes for restoration. This involves cleaning the pipes using high-pressure water jetting to remove debris, roots, and other obstructions. This step ensures that the lining will adhere properly to the pipe walls, creating a smooth and durable inner surface.
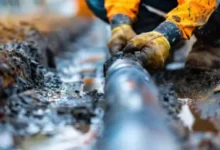

The Relining Process: A New Lease on Life for Your Pipes
The core of this no-dig pipe restoration procedure involves inserting a flexible liner, which is then expanded to fit snugly against the pipe’s interior, effectively creating a “pipe within a pipe.” Depending on the severity and location of the damage, different relining techniques may be employed to ensure optimal results. This innovative approach minimises the need for extensive excavation, preserving the landscape and surrounding areas’ structural integrity. It’s a tailored solution that adapts to various challenges, offering a durable, less intrusive alternative to traditional pipe repair methods. The selection of the relining technique is critical, as it must suit the specific conditions and requirements of the damaged pipeline to restore its functionality effectively and efficiently.
See also: Beyond Endurance: The Critical Role of Steel Joists in Modern Architecture
Curing the Liner: Solidifying the Solution
After the liner is in place, it undergoes a curing process to harden the resin, which can be accelerated using heat or UV light. This step is crucial, as it transforms the liner into a vital, seamless new pipe section that is resistant to leaks, cracks, and even tree root intrusion.
The Final Inspection: Ensuring Excellence
A final inspection is conducted to guarantee the relining’s quality and efficacy. Again, CCTV cameras play a pivotal role, providing clear visuals to confirm that the liner has been correctly installed and cured. This step ensures that the newly relined pipe meets all expected standards of functionality and durability.
Pipe relining represents a significant advancement in plumbing repair technology. It offers a less invasive, more durable, and cost-effective solution to pipe damage. From the initial inspection to the perfection of the curing process, each step is carried out with precision and care.